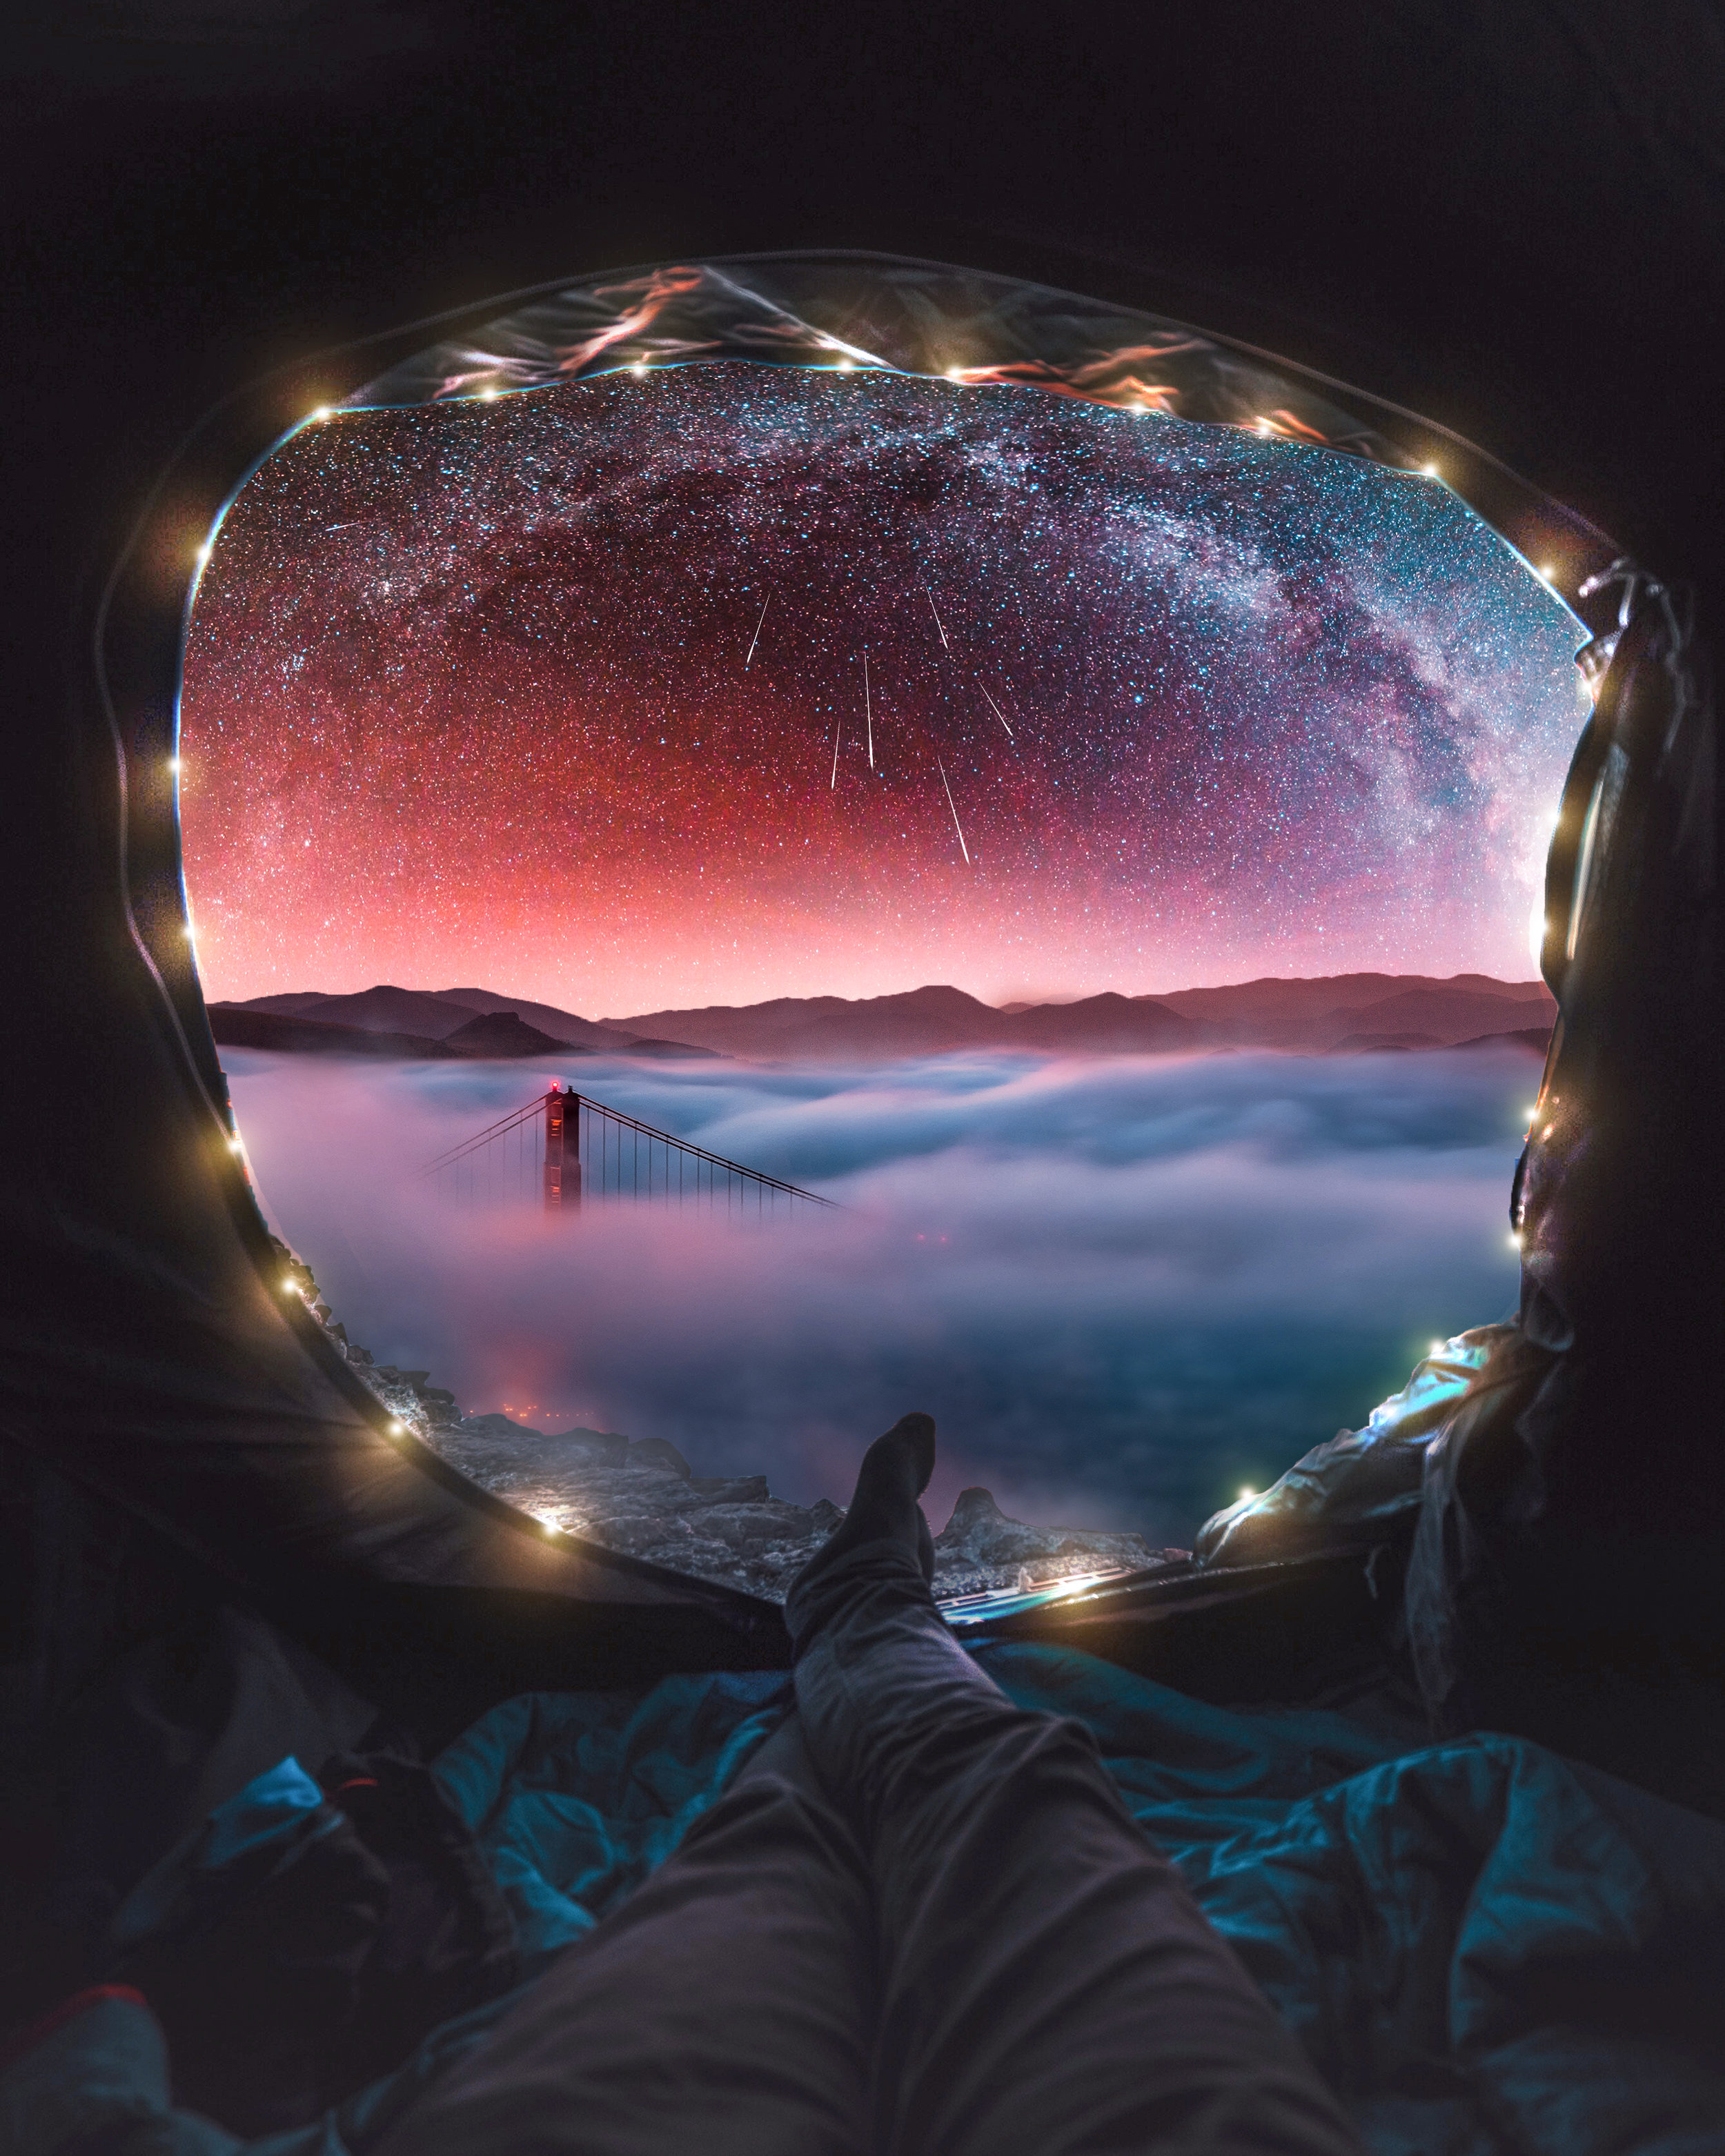
Photo Editing Tutorial with @j.diegoph

It's always fun to see the steps that an artist takes to create one of their masterpieces. This week, I teamed up with my friend Diego (@j.diegoph on IG) for this editing tutorial.
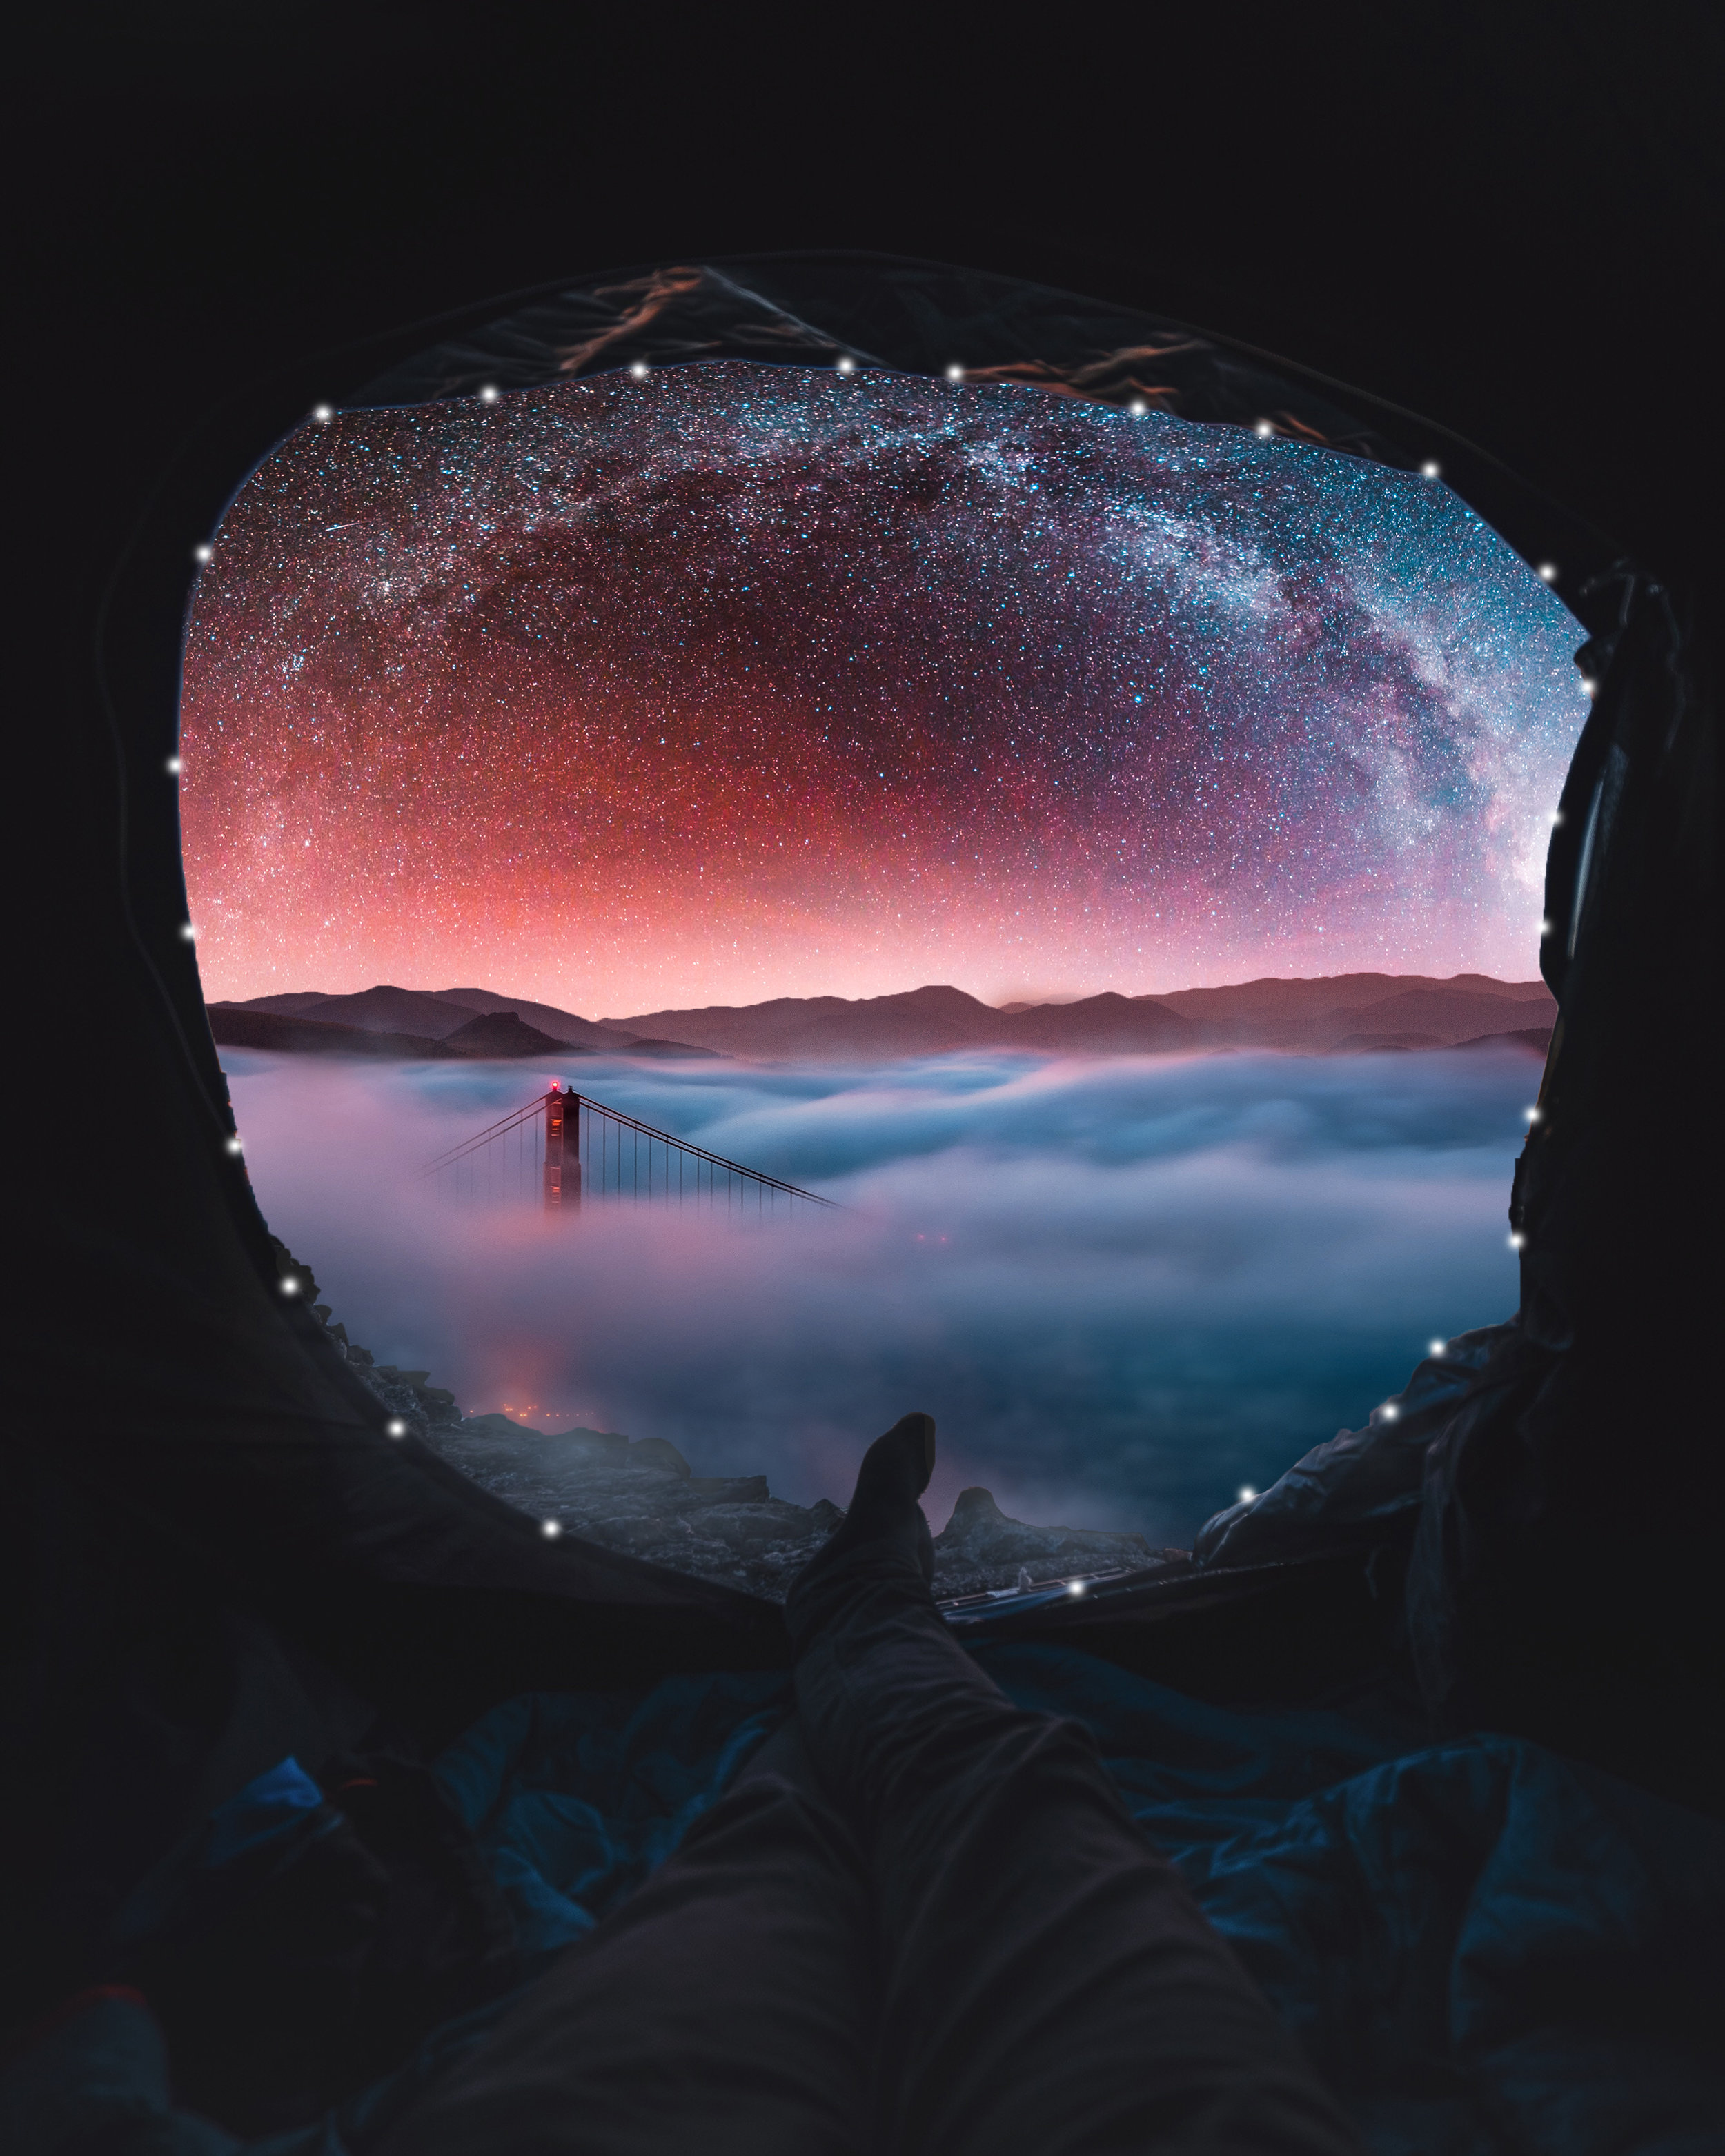
Diego is an incredibly talented digital artist. Here are a few of his amazing images.


Follow along on this step-by-step editing tutorial taught by @j.diegoph
Tools Needed: Adobe Photoshop
Images Needed: Three (this is up to you, you can use more or less to make your own creation!)

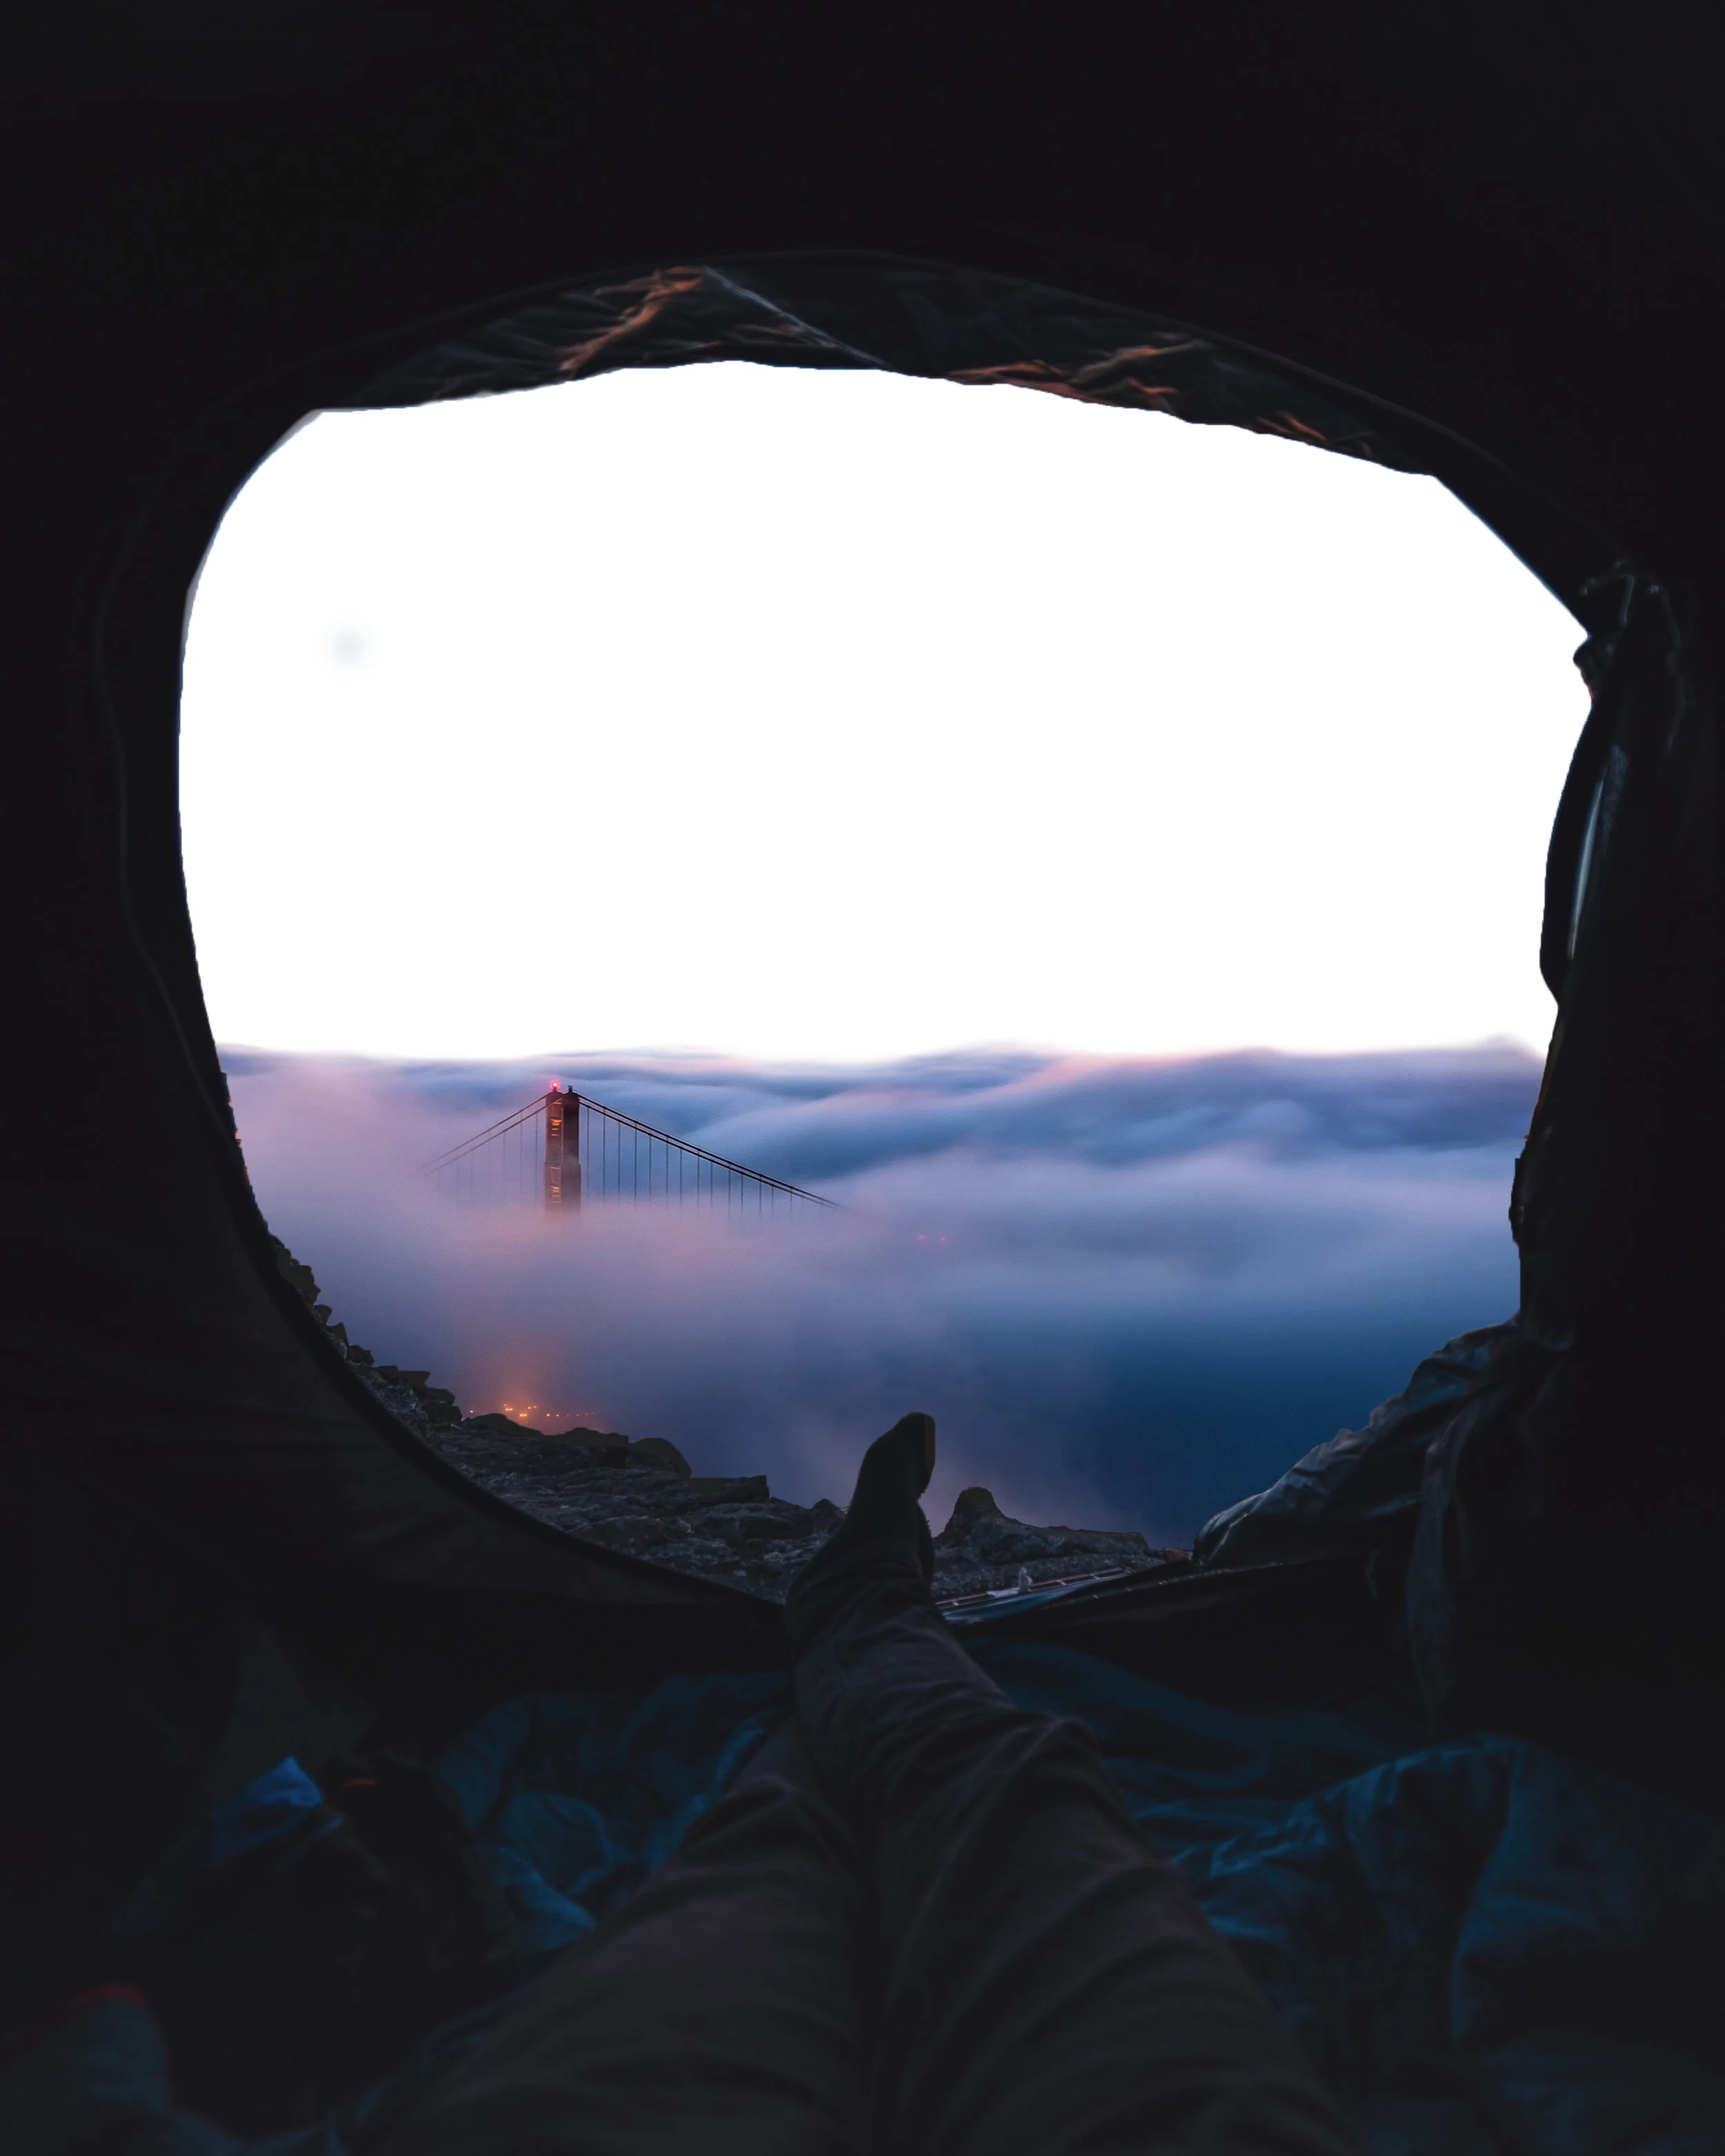
Step 2: Eliminate the background by making a selection with the pen tool and create a layer mask

Step 3. Add another stock image for the sky or desired background

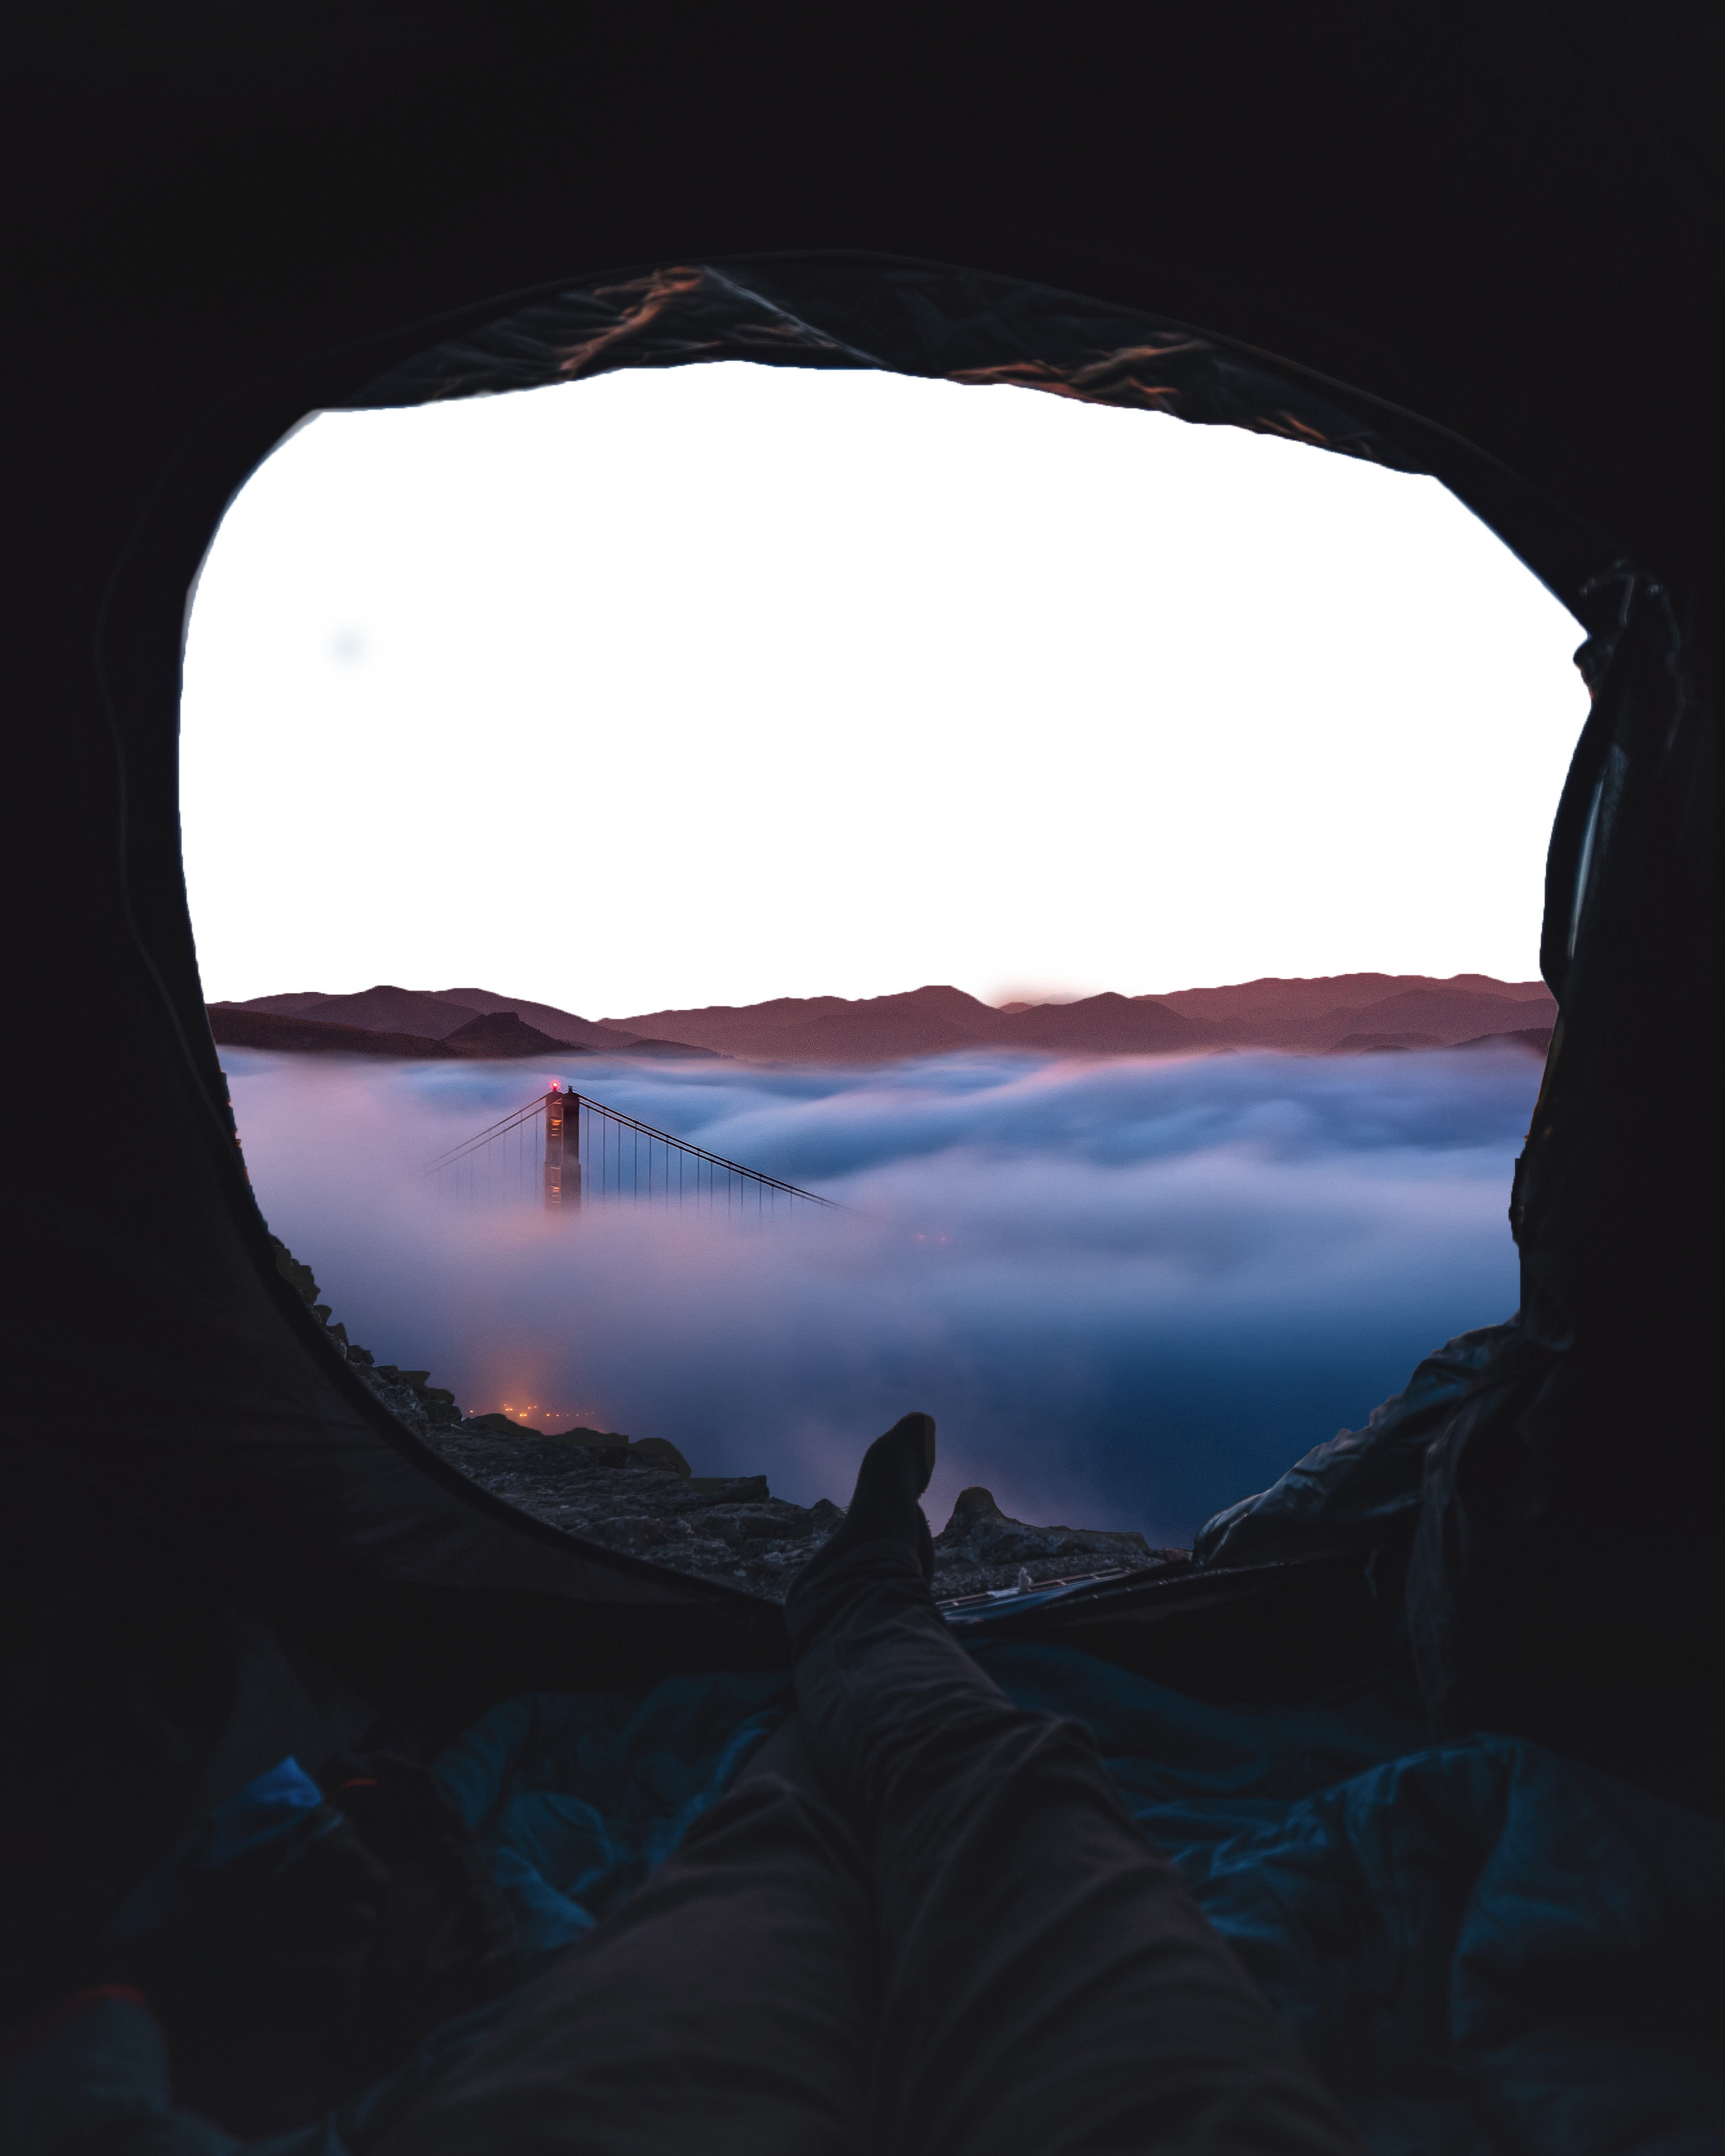
Step 4: Eliminate the upper section of the sky with a layer mask and the gradient tool
Step 5: Add mountains from stock photo of your choice. Select the mountains and add a layer mask.
Step 6: Add a Milky way photo
Make sure that it is positioned as the bottom layer so that it is shown behind the mountains.

Step 7: Color grade Milky way with camera raw
Filter > Camera Raw
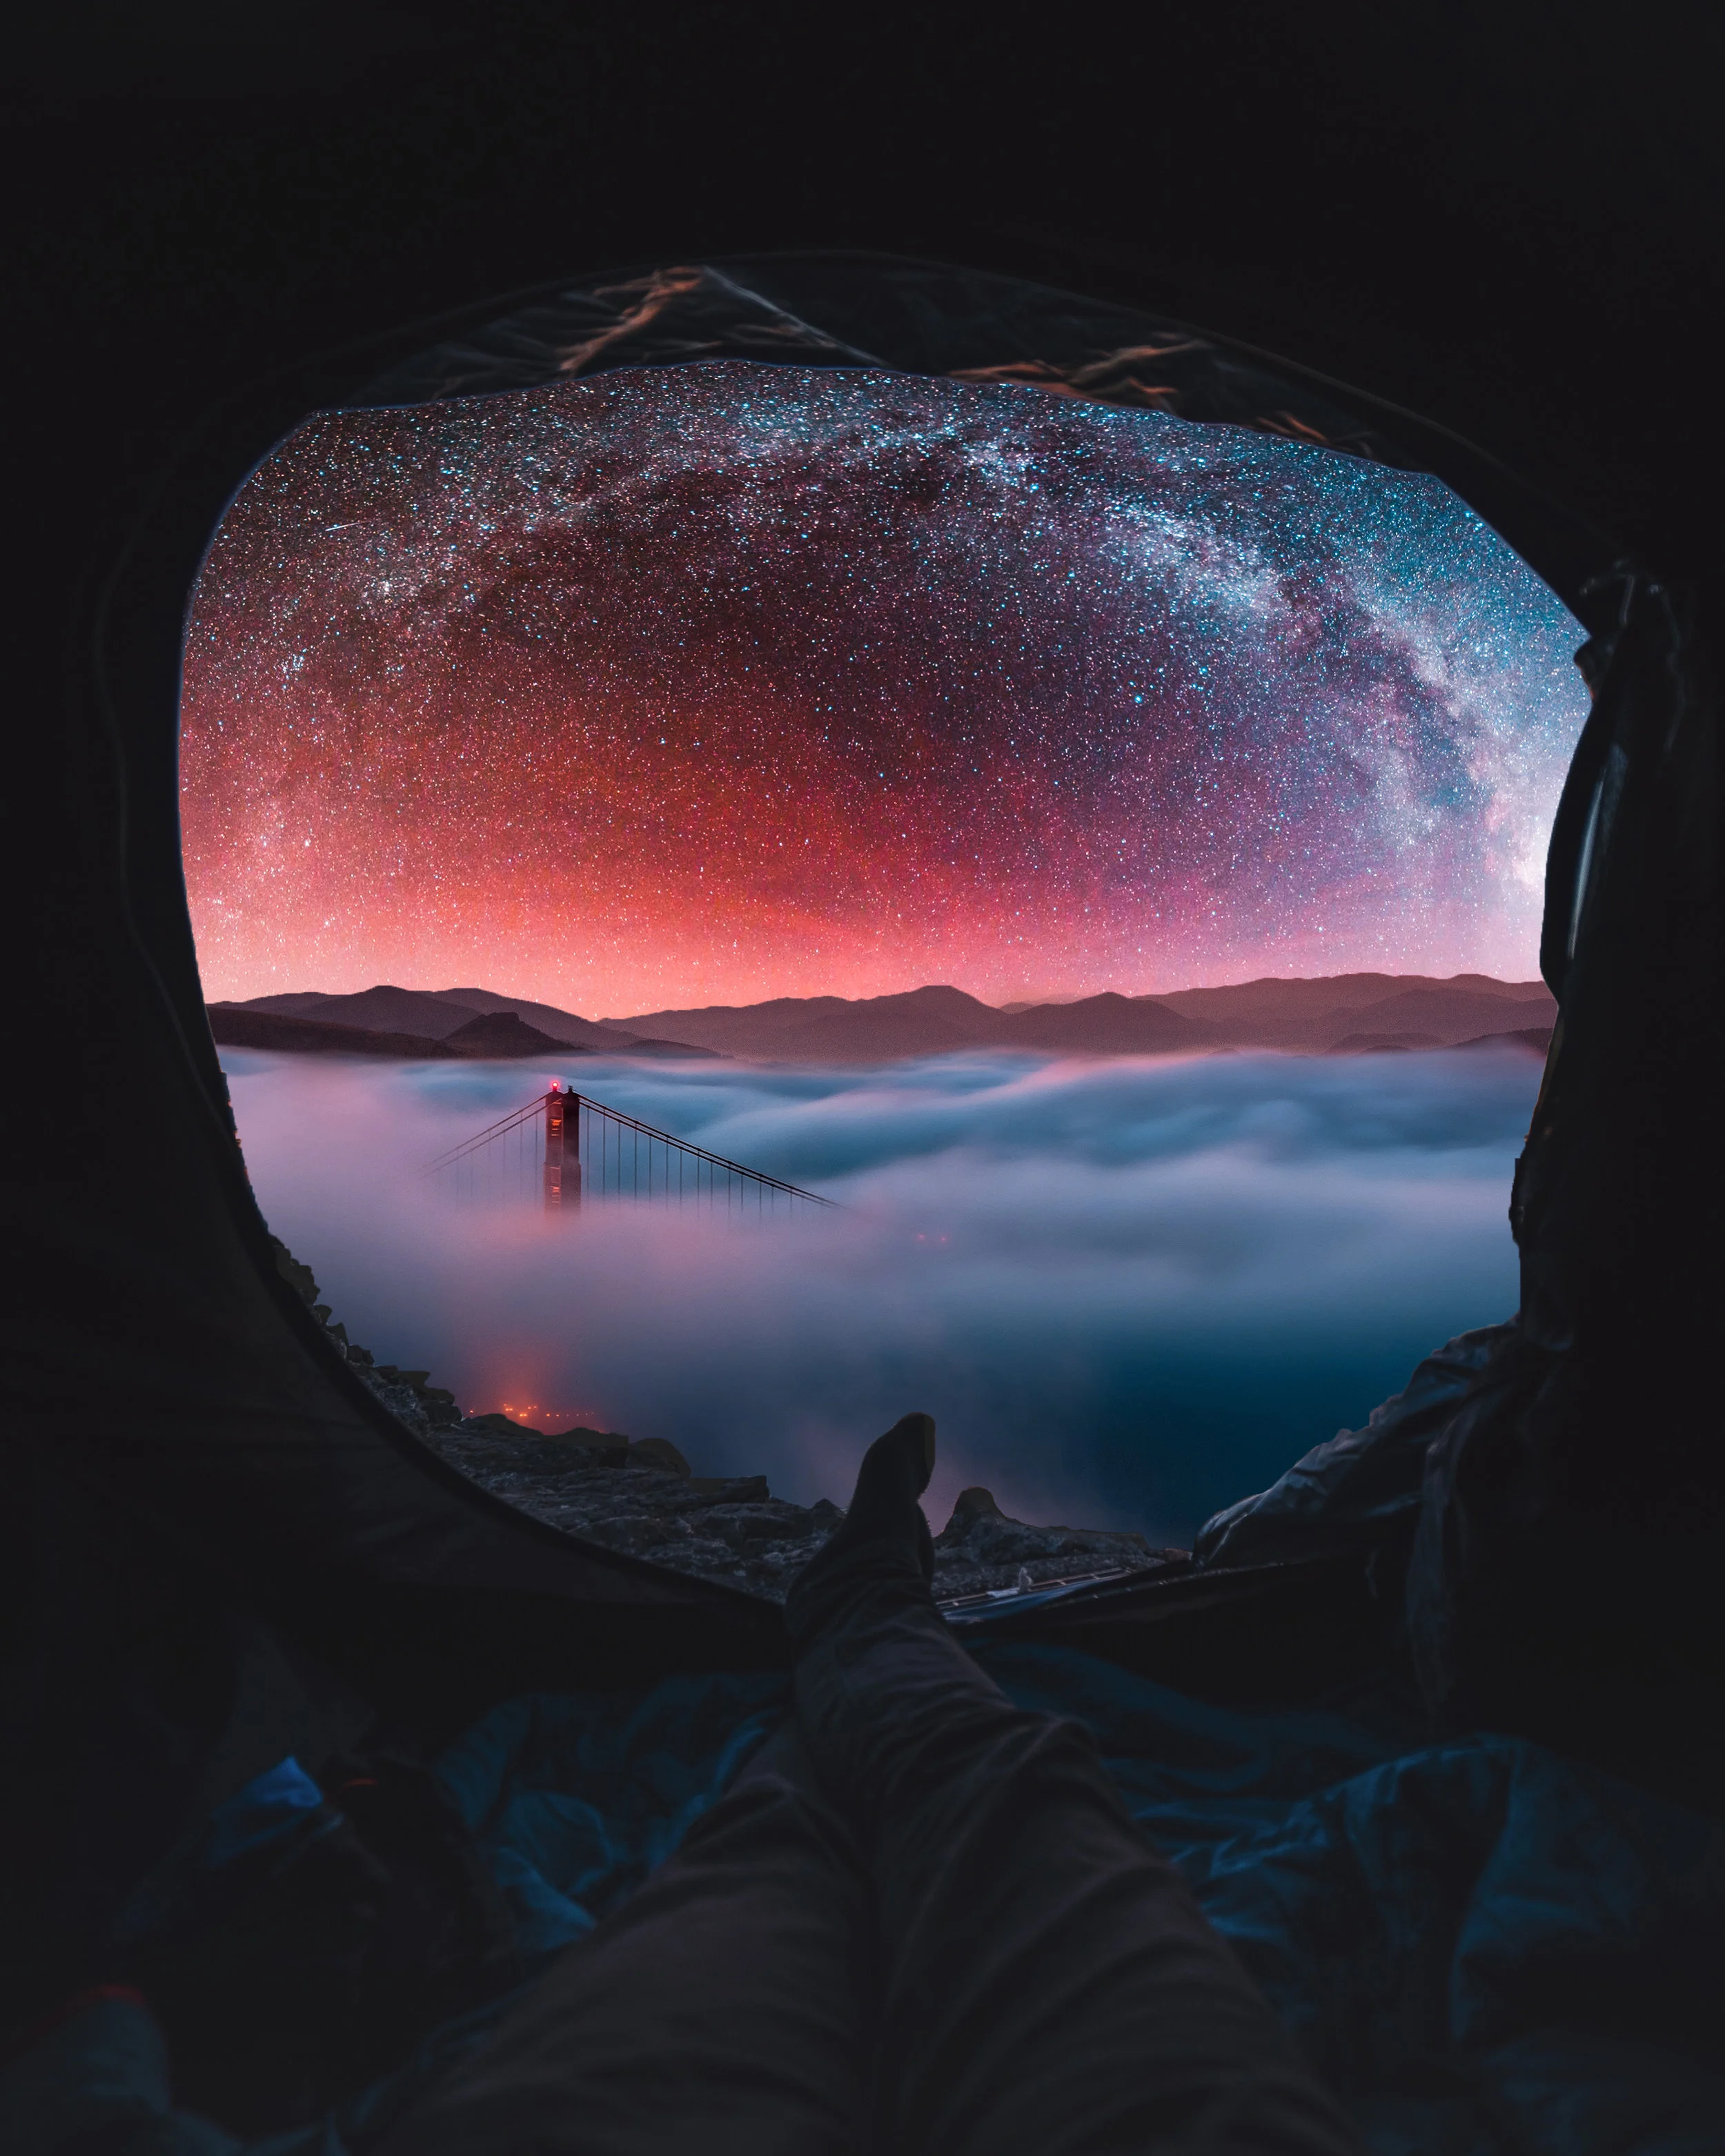
Step 8: Add fog with a brush tool and light at the horizon.
Light can be added with a brush tool on a new layer or by adding an adjustment layer to the milky way and increase exposure or curves. Then, inverse the layer (command or Ctrl "I") and paint with a white brush on the area that you want to add light. NOTE: Make sure you have the layer-mask selected and not the actual layer itself.

Step 9: Add white lights with the brush tool
Step 10: Add yellow light with the brush tool on a new layer and set the blend mode to vivid light.

Step 11: Add more yellow light
Do this by either copying step 10's layer or by creating a new layer with more yellow light

Step 12: Add more yellow light and increase the exposure of the edges of the tent where the lights are.
Add an exposure adjustment layer to the tent and increase exposure. Inverse the layer and paint where the lights are visible.