How to Use Lightroom Presets to Edit Your Photos

Updated: 2019
Imagine that you are about to start retouching your photo and all the effects you are looking for are just one single click away. Have you ever thought about being able to work like this? Well, it's not as hard as it may seem at first glance. Presets are an essential part of any photographers post routine and help to speed up your work-flow and allow you to batch edit.
Many of you have asked, "What are Lightroom Presets and how do I use Lightroom Presets?" Let's dive in!
What are Lightroom Presets and Where to Find Them
Lightroom presets, also known as simply "presets", are one of the most interesting and useful resources you can find in the Lightroom editing program. It is a set of adjustments and changes that are made to the photo that are saved, so you can apply them with just one click on any image.
The panel of Preset Settings or Presets will be found in the Develop tab of Lightroom. By default, the program already has some presets but keep in mind that these aren't the best. For best results, either make your own which we will talk about in the next section, or buy some from your favorite photographers.
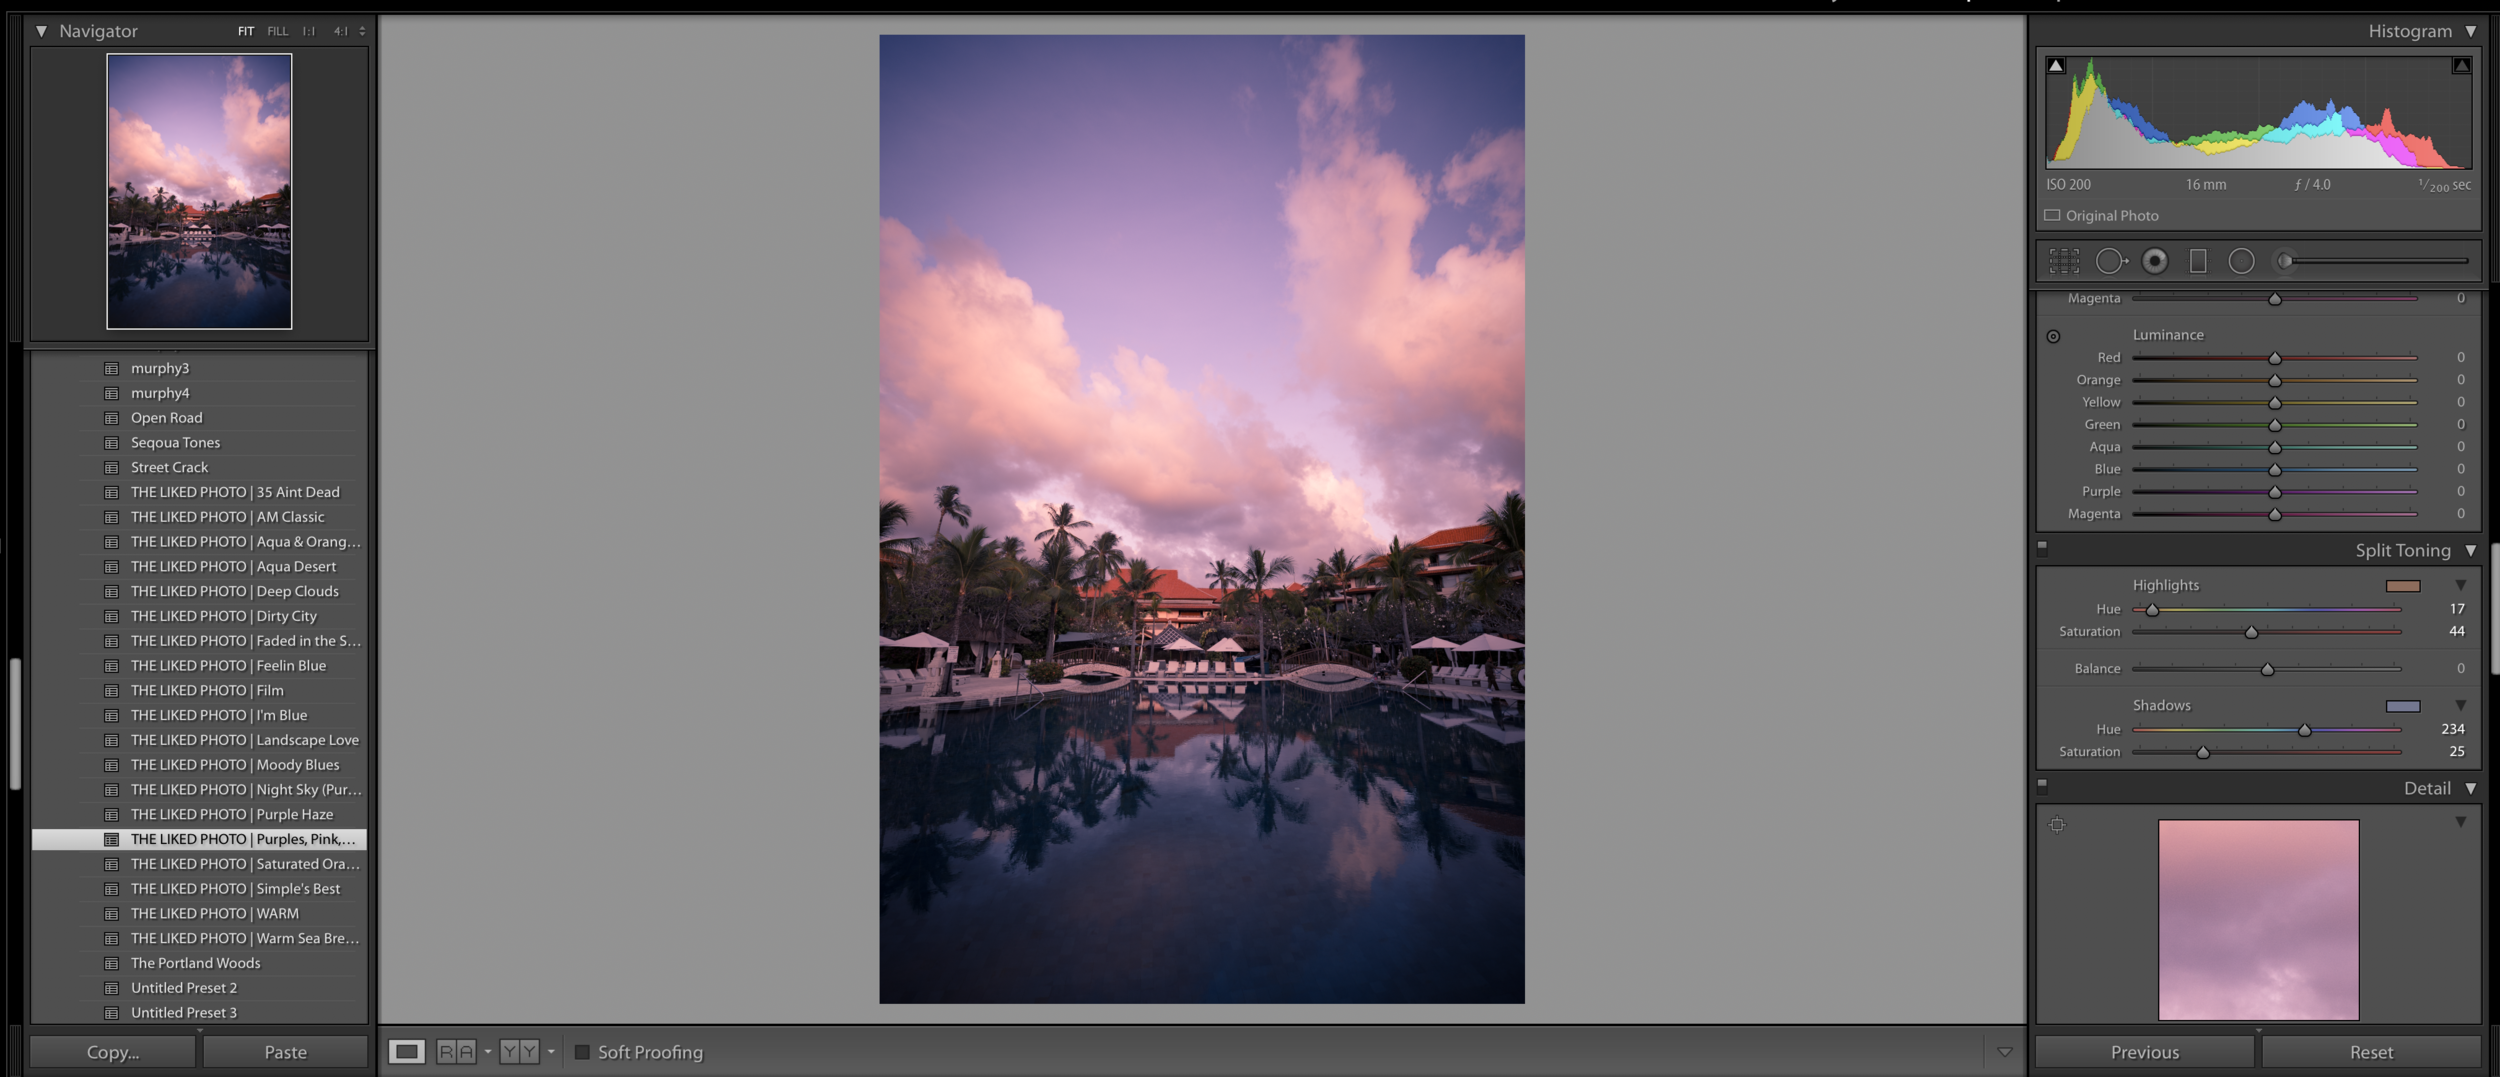
Lightroom's interface - Presets on the left. Editing controls on the right. You can see here that I applied this preset to the image. To me, it looks too dark but I like the tones so my next step is to adjust the exposure on the right side until I get my desired look. (Preset used here is "Purples, Pinks and Dark Shadows available in our preset shop)
How do I apply a Preset to my Photo?
Applying a preset to your photography is very simple. To do so, you have to open the Preset Settings panel where all the presets that you have installed will appear. You then need to pass the mouse over them, and before applying them, you will be able to see in the thumbnail of the Navigator panel how your image will look after applying the preset.
If you like the look, click on that preset, and you will see how your image changes instantly. On the right side, you will see how the edit has been changed. You can tweak this preset as you see fit for each photo. For example, I usually apply a preset and then change the exposure and color temp based on that image.
You can always undo the action from the menu Edit/Undo or Ctrl+Z/Command + Z.

If you scroll down, on the left you will see "history" this is a great way to learn exactly how the photo was edited with the preset. Tip: If you buy presets from other photographers, study this section and learn exactly how they edited the photo. This will allow you to become a better edited and instantly know how a photo was edited just after a quick glance.
Saving Presets and overwriting old Presets
To save a preset you will click the plus icon shown below. Use the same method to overwrite existing presets or to made a small tweak to one that you have purchased.

Click the plus icon to create a new preset or to import presets that you have purchased.

After you click create preset, a box will pop up with all of your new preset settings - then click create and it will be saved with the others.
NOTE: You can edit old presets or ones you have purchased by making the changes on the right editing panel and then click this plus sign and re-save the new preset. I do this all the time with presets that I purchase because I usually want to make a small change.
Pro-tip: Keep in mind that some presets that look great on one photo will end up looking horrible on another. This is all based on lighting, color tones, and the overall image. Play around with different presets until you get the look that you are aiming for.
5 Advantages of Using Lightroom Presets
The use of presets can give you some advantages when it comes to processing and revealing your photographs.